
by Jeremy Stone
I have finally put the baseboard together and fixed down the layout plan using Templot. As I'm still not great with Templot, I created the different turnouts and straight sections individually, printed them out and once the board was marked out, the pieces were stuck together like a jigsaw puzzle.
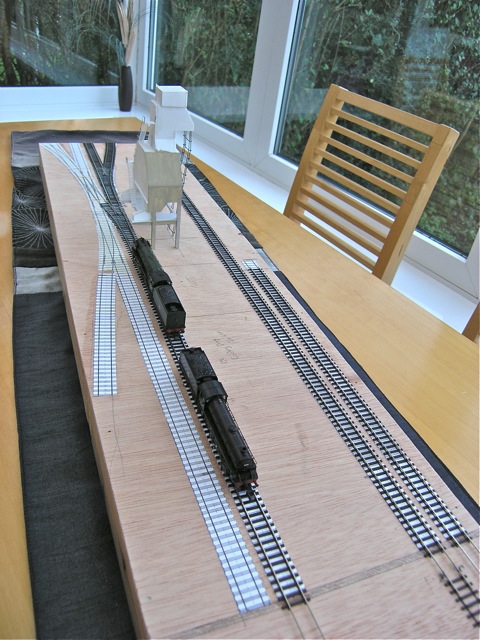
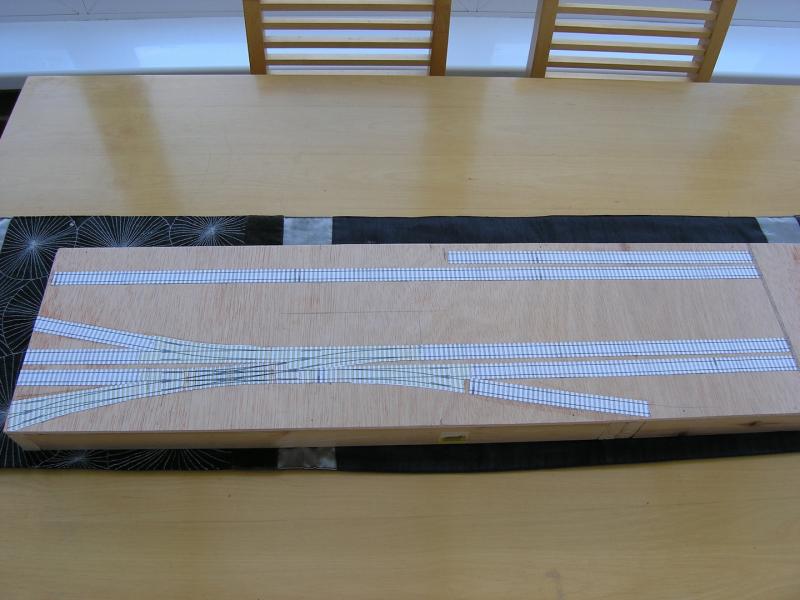 So here is the first photo, the whole layout is 120cm long by 22cm wide. The area to the right (where there is no track plan) will be the fiddle yard. I have created the plan as close to the prototype as possible and although I have turnouts at one end which don't actually lead anywhere, this not only keeps it prototypical but also allows the possibility of future extension. There are four turnouts and a double slip (thanks to Cav on the RMWeb forum for creating this on Templot for me as it was pretty complex and way beyond my computer skills) which I'm not looking forward to putting together, so any tips on how best to tackle this would be greatly appreciated. The water tower and coaling stage will sit to the right of the plant.
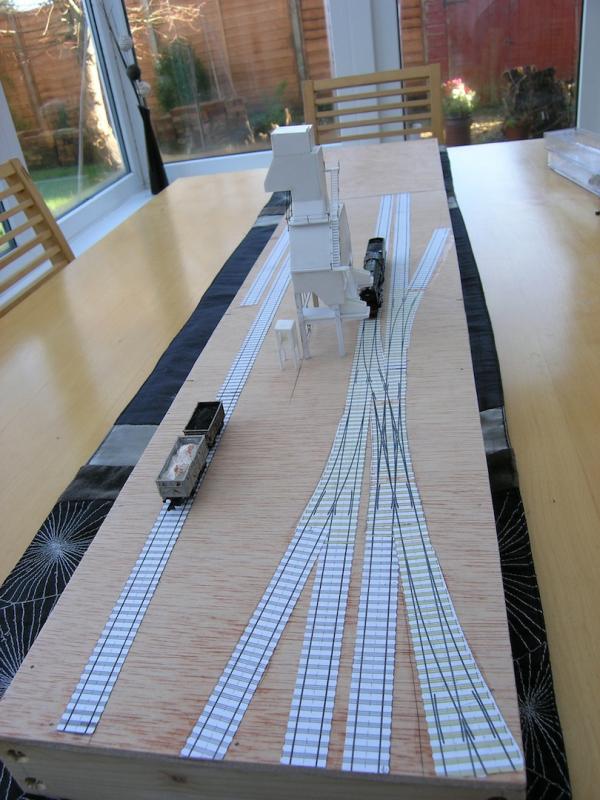
The plan allows locos to arrive at the plant for recoaling and the area to the left of the slip is just long enough to allow a loco to run round and head back along the other road back to the fiddle yard.
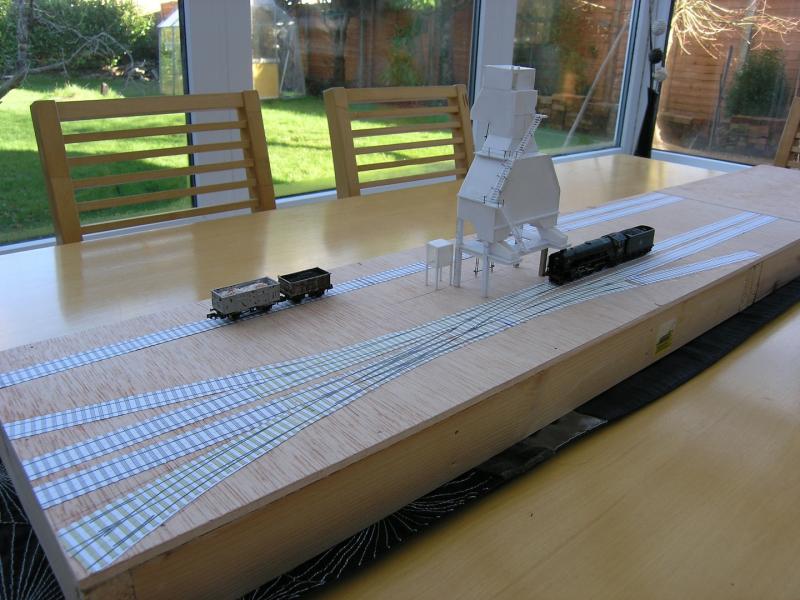
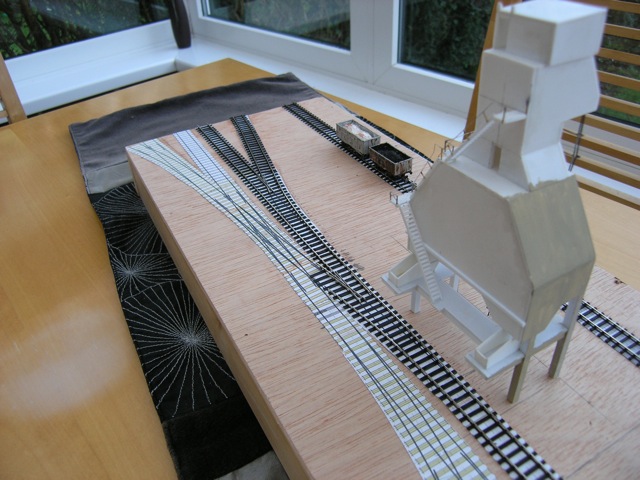
Overall view of the layout with coaling plant in position for effect.
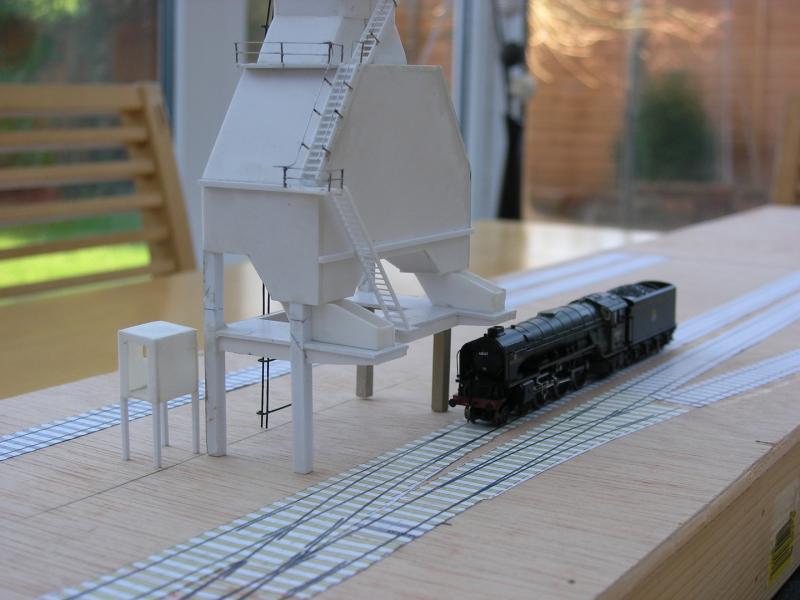
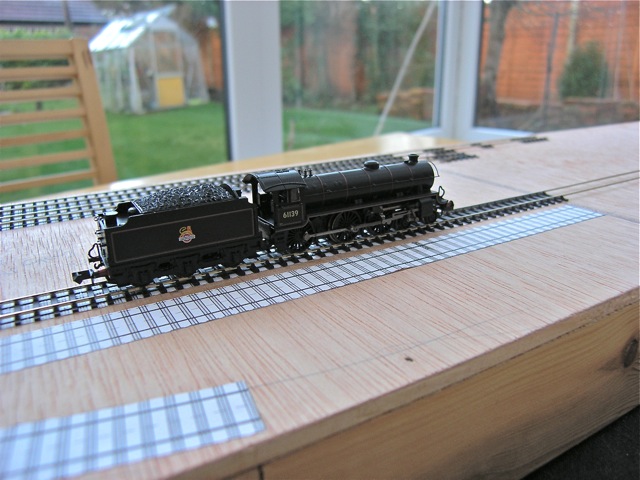
 And finally showing an A1 on shed.
With the baseboards and track plan (which is true to the prototype) firmly fixed into position, the next step is to build the track and make a start on laying it.
As I am using 2mm fine scale track, each section has to be built individually. Straight sections are easier as the rails just need to be threaded through the chairs on the sleepers, whereas the turnouts are slightly more complicated with some parts needing to be placed in a jig and then soldered together before threading individual chairs onto them and then fixing onto the sleepers with glue applied via a pin dispenser.

I have made good progress on the board so far. The two sidings to the rear of the coaling plant have been laid and wired up. The track to the front is progressing well, the turnouts being half completed with just the point blades to complete them. I will then tackle the more complicated double slip, which will connect the front two tracks together and provide me with a loop to run the locos on and off the coaling plant.
I have also purchased a Thompson B1 loco, which I must say is a very finely detailed model and will be renumbered to represent one of the allocated locos from the late '50s.
More updates to follow.
Forward to Part 4.
Copyright note: the article above is published with the appropriate permissions. For information about copyright of the content of Tracks through Grantham please read our Copyright page
That's brilliant Jeremy, well done. I've had ideas to make this (in 4mm) but not sure I have room on my layout ... maybe sometime. But seeing your work has inspired me.
ROY@34F